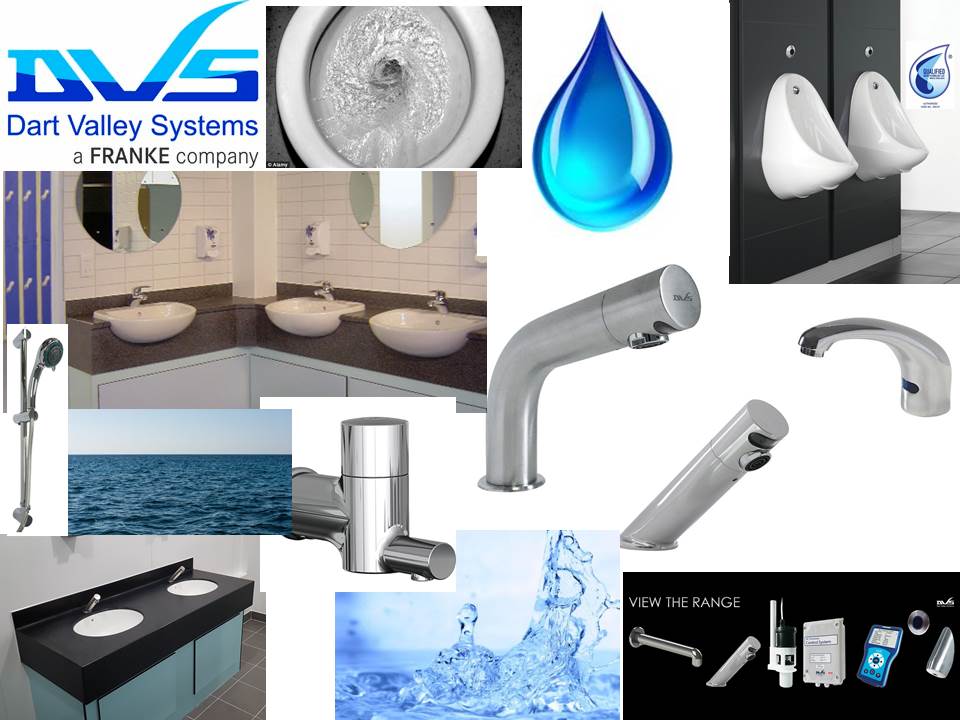
Our Dart Valley Systems Mood Board:
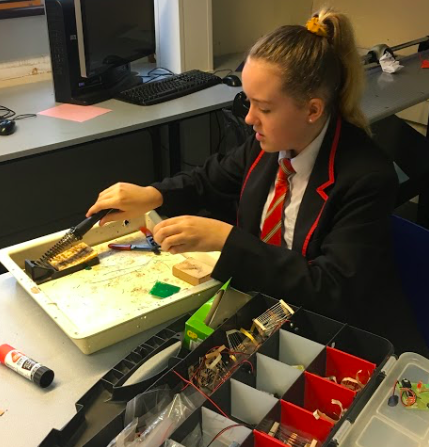
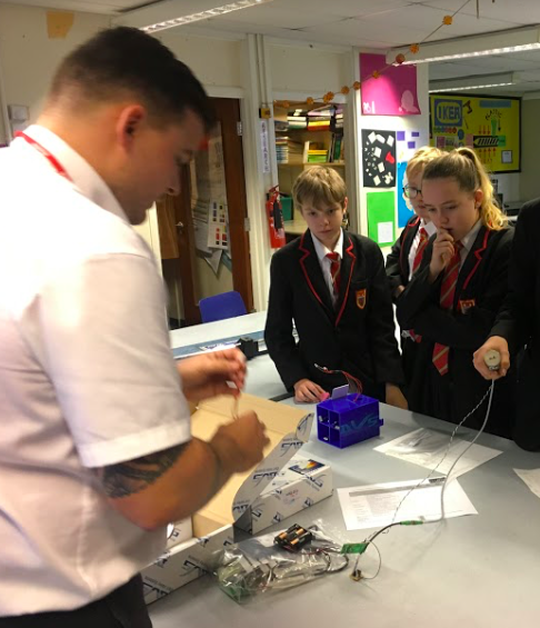
Building the circuit
|
|
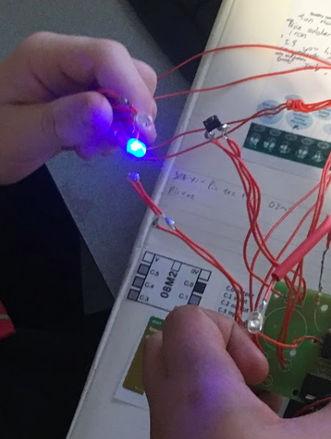
Us Testing Things:
|
|
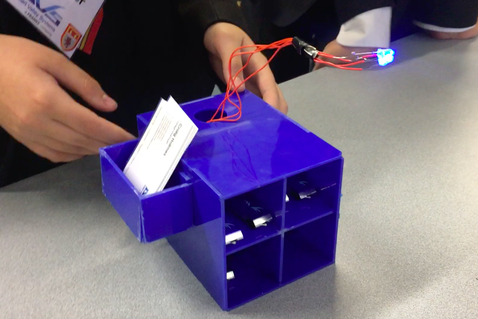
Our final design was made on the program 2d design then cut on the laser cutter including the finger joints. Before it was cut on the later cutter we printed it out and cut it on cardboard to make sure the joints fit together. We then researched and fabricated our components and soldered our board so it would work. In order to program the board we had to test each component individually in blocky. When we were fabricating the outer casing of our product together we had to use acrylic glue and hold the pieces in place, putting two of the sides together with the middle piece and then the rest of the sides. After we put it together we added a small buisness card holder and a platform to hold any other company giveaways such as promotional memory sticks.
Below are photos of the laser cutter cutting out the peices of Acrylic. |
Modelling and testing the accuracy of our finger joints
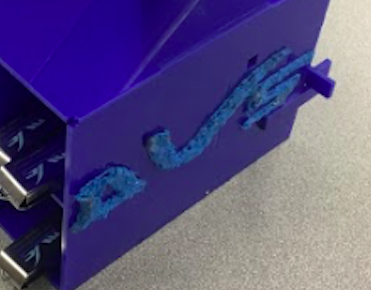
3D pen

|
We used a 3D pen to give the DVS logo a textured style design.
|
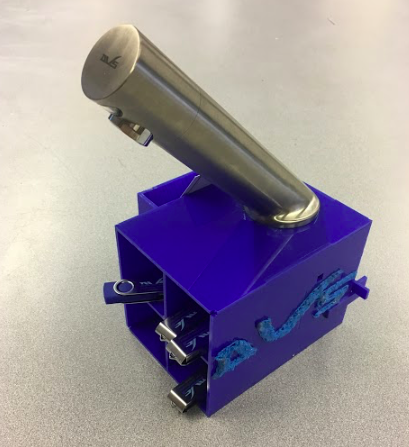
Craig provided us with a tap to put our LEDs through. We were really exited for Craig to come into school to help us fit our final component.
|
The design links the DVS tap motion sensor with the circuits that we already had at school from our last project 'cyber pet'. We also bought some brighter blue LEDs to make the design more striking.
|
Where next?
|
We could improve our product by adding engraved disks with facts or infomation about how DVS using water saving technology.
|
|
